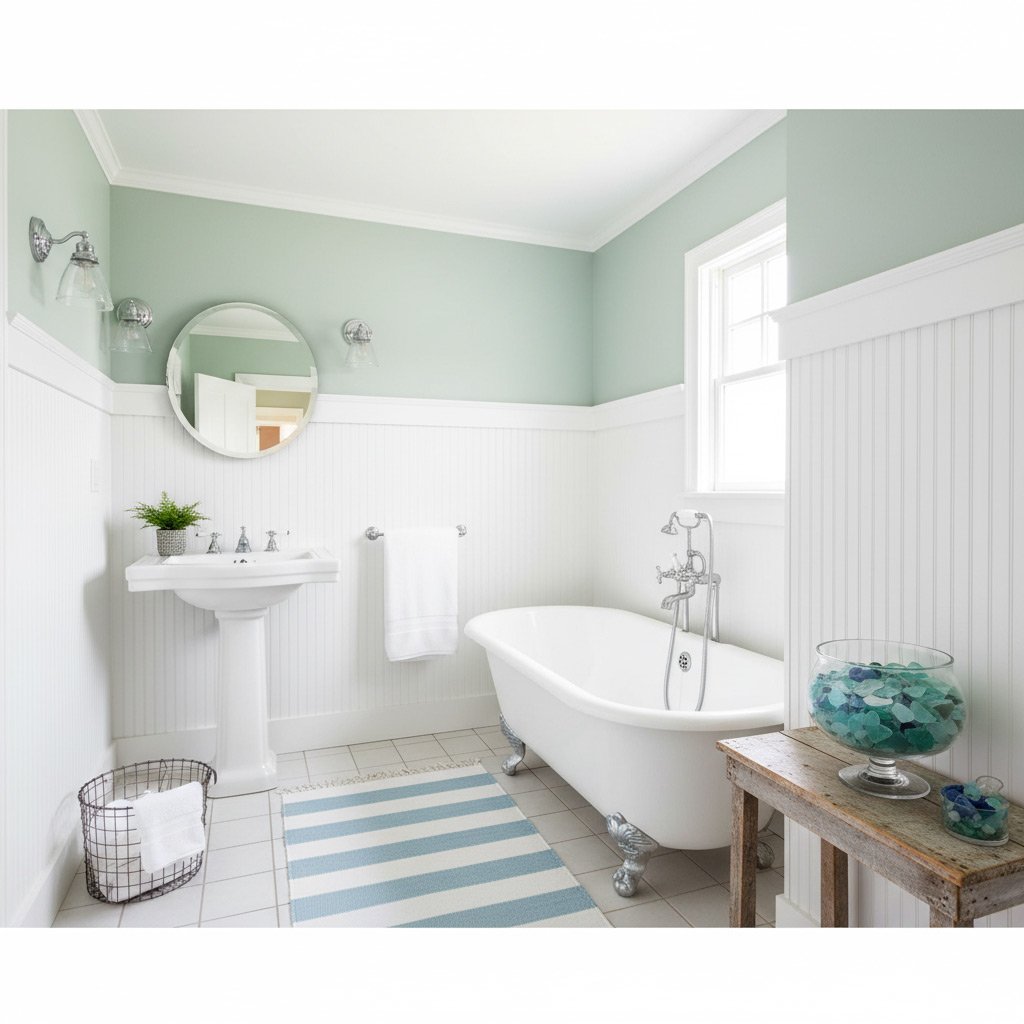
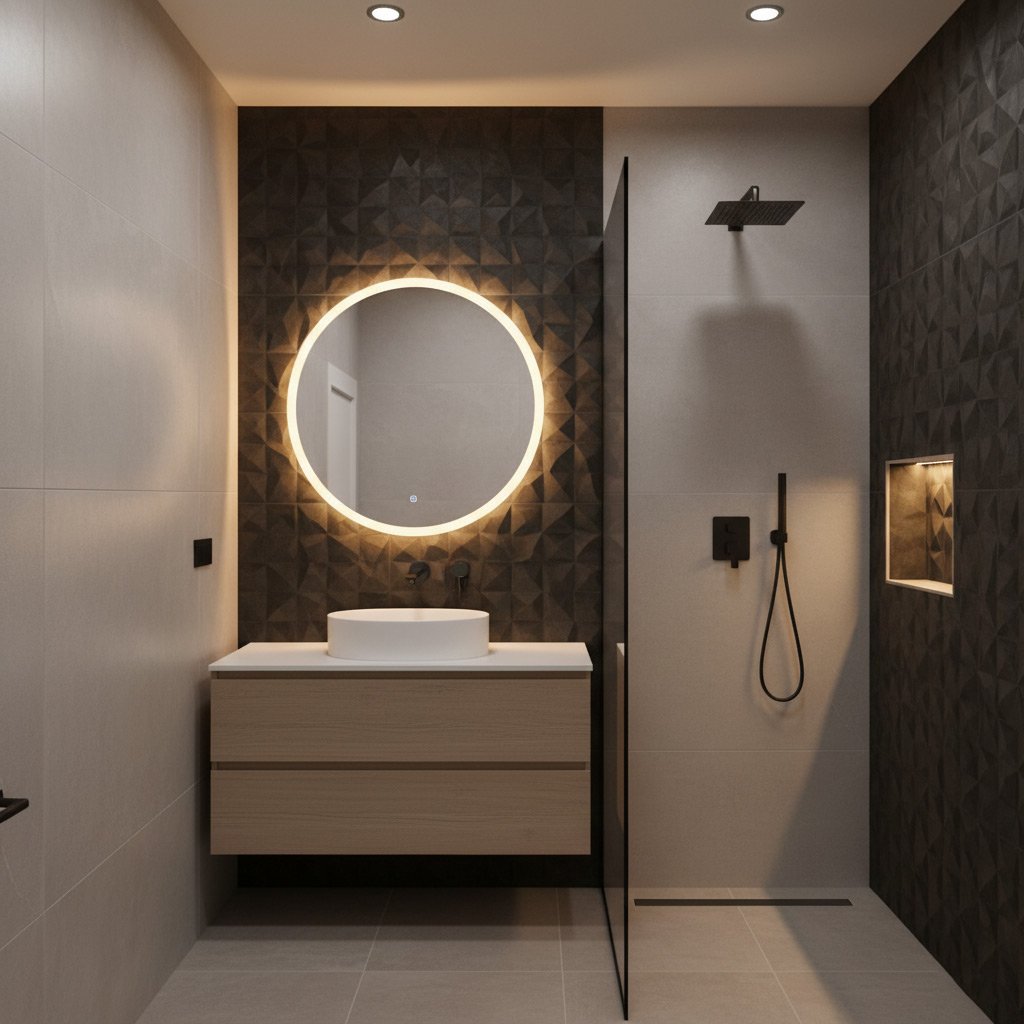
Picture this: you pull the shower curtain aside and are greeted by a gleaming glass enclosure, a rain‑head that feels like a mini‑storm, and a floor that stays dry no matter how wild the water gets.
In Chandler, where every square foot counts and resale value is king, swapping a clunky tub for a modern shower isn’t just a facelift—it’s a power move that saves water, frees up space, and adds instant wow‑factor.
Sure, you’ve heard the rumors about hidden costs, messy demolition, and permit headaches, but the truth is a well‑planned conversion can be smoother than a fresh‑cut tile.
Stick around and we’ll walk you through every decision, from layout tricks to tile picks, so you can turn that old tub into a spa‑like shower without a hitch.
Assessing Your Space: Measuring, Plumbing Layout, and Structural Considerations
Measure Twice, Cut Once
Grab a tape, a notepad, and walk the bathroom perimeter. Record the length, width, and height of the tub area, noting any protruding fixtures that could bite into a new shower footprint.
Next, sketch a quick floor plan. Mark doors, windows, and the location of the existing drain. This simple diagram becomes the blueprint for every decision that follows.
- Measure from wall to wall, not just the tub’s outer edges.
- Include the space needed for a shower door swing or sliding panel.
- Check ceiling height; a low ceiling may limit a tall glass enclosure.
Plumbing Layout Check
Before you order a rain‑head, locate the hot and cold supply lines. Turn off the water and use a pipe detector or a small inspection camera to see how the pipes run behind the wall.
Identify the drain’s position and its slope. A misaligned drain can cause water to pool, turning your dream shower into a slip‑n‑slide.
- Note the distance from the existing drain to the nearest wall stud.
- Determine if the current vent pipe can handle a new shower’s flow.
- Consider adding a linear drain for a modern look and easier maintenance.
Structural Reality Check
The floor must support a heavier shower base and tile. Inspect the joists for sagging or rot; reinforce if needed.
Walls that hold a glass enclosure need solid framing. Look for studs spaced 16 inches on center and verify they’re not compromised by moisture.
- Check local building codes for required waterproofing layers.
- Plan for a waterproof membrane that can handle Chandler’s heat and occasional monsoon bursts.
- Secure any necessary permits early to avoid surprise stops
Budgeting the Conversion: Cost Breakdown, Hidden Expenses, and Financing Options
What the dollars really look like
First, map out the big ticket items. A typical tub‑to‑shower swap in Chandler runs $7,000‑$12,000, but the exact figure hinges on three things: demolition, plumbing reroute, and finish work.
Break it down further:
- Demo & disposal: $800‑$1,200
- Plumbing adjustments: $1,200‑$2,500
- Waterproofing membrane: $1,000‑$1,800
- Tile & labor: $2,500‑$5,000
- Shower fixtures (rails, doors, heads): $800‑$2,000
Hidden costs that bite
Don’t let surprise fees ruin the vibe. Older homes often hide code upgrades that can add $500‑$1,500.
Other sneaky expenses include:
- Structural reinforcement if the floor isn’t level
- Extra waterproofing for high‑moisture zones
- Permit fees—usually $150‑$300 in Maricopa County
- Disposal of hazardous materials like asbestos (rare, but possible)
Smart ways to pay
Most homeowners tap a mix of cash, credit, and financing. A 0% APR credit card can cover the fixture and tile portion if you pay it off in a year.
Local lenders love home‑improvement loans—think 5‑7% interest, 5‑10 year terms. And don’t forget the energy‑efficiency rebate from Arizona’s utility companies; swapping to a low‑flow showerhead can shave $100‑$200 off the total.

Choosing the Right Shower Design: Enclosure Types, Drain Placement, and Accessibility
Before you pick a tile, you’ve got to decide how the shower will sit in the room. A smart design saves you time, money, and a lot of headaches when the contractor shows up.
Enclosure Types
There’s no one‑size‑fits‑all. Pick the style that matches your bathroom’s vibe and the space you have.
- Frameless glass – sleek, modern, lets light bounce around.
- Framed glass – budget‑friendly, still looks clean.
- Curbless walk‑in – perfect for a spa feel and wheelchair access.
- Half‑wall or “shower screen” – good when you need a quick visual break without a full door.
Drain Placement
The drain is the silent hero. Put it where water naturally rolls, and you’ll avoid puddles on the floor.
- Center drain – classic, works with most layouts.
- Linear (slot) drain – great for rectangular tiles and a sleek look.
- Corner drain – saves space, but requires precise slope.
- Check local code in Chandler – some HOA’s have specific requirements.
Accessibility
Think about who will use the shower today and tomorrow. A few tweaks can make a big difference.
- Low threshold or no curb – easy step‑in for seniors and kids.
- Grab bars placed at hand height – safety without looking like a rehab center.
- Bench or built‑in seat – a place to sit while you lather up.
- Lever‑type faucet – smoother operation for arthritic hands.
Selecting Materials: Tile, Waterproofing, Fixtures, and Finishes for Chandler’s Climate
Tile that Beats the Heat
Chandler’s desert sun can turn a bathroom into a sauna, so choose tiles that stay cool underfoot. Porcelain and natural stone with a matte finish reflect heat, while glazed ceramics can trap it.
Look for a PEI rating of 4 or higher to handle foot traffic and moisture. A few smart picks:
- Large-format porcelain slabs – fewer grout lines, easier cleaning.
- Travertine or limestone – natural breathability, perfect for a spa vibe.
- Textured quarry tile – slip resistance when the floor gets wet.
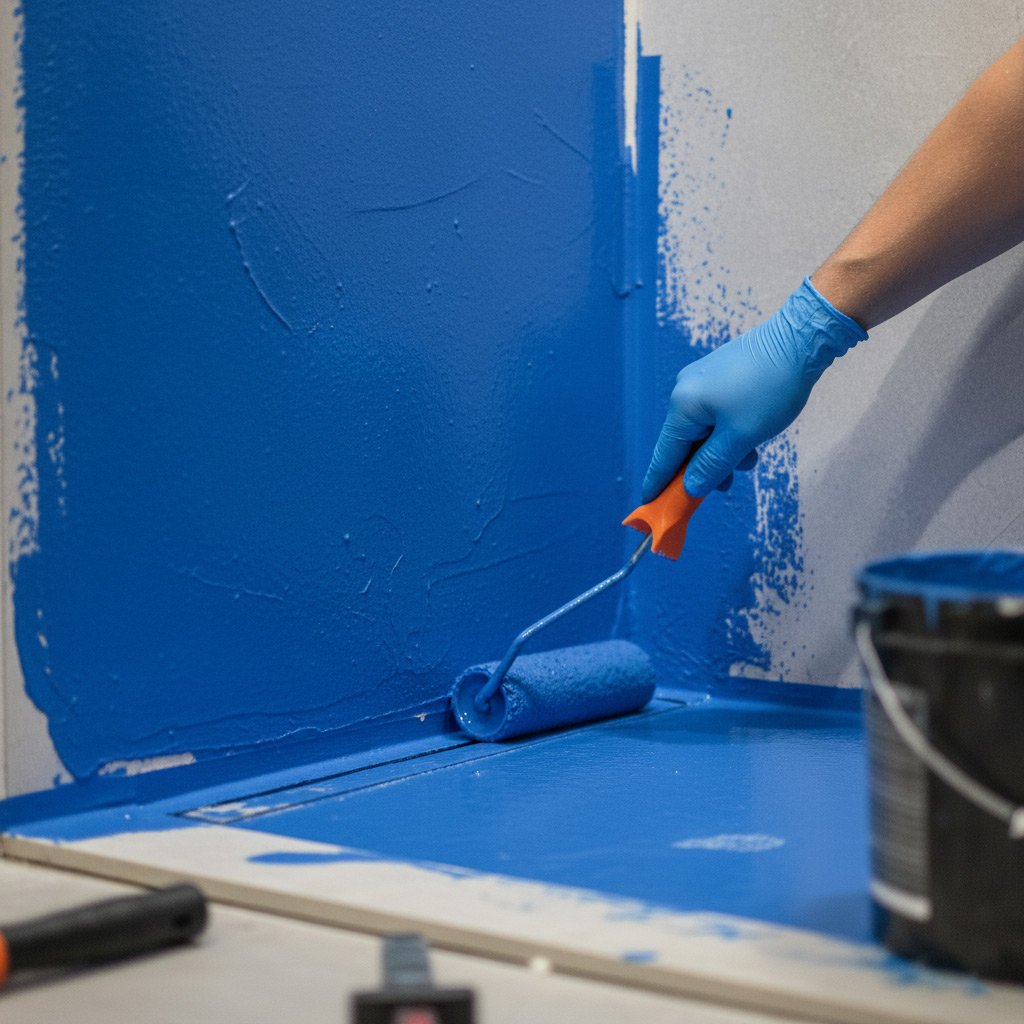
Waterproofing That Won’t Quit
Arizona’s monsoon bursts demand a watertight barrier. A two‑step system—liquid membrane followed by a reinforcing fabric—gives you a fail‑proof seal.
Key steps:
- Apply a primer to the substrate; it improves adhesion.
- Roll on a liquid waterproofing coat, let it cure.
- Lay a fiberglass mesh, then top it with a second coat.
Don’t skimp on the corners; they’re the usual leak culprits.
Fixtures & Finishes That Play Nice With the Desert
Stainless steel and brushed nickel resist corrosion from hard water, a common issue in Chandler. Choose a rain‑head with a built‑in flow regulator to keep water usage in check.
Finish ideas that add style without adding heat:
- Matte black hardware – bold, low‑glare.
- Oil‑rubbed bronze – warm tone, hides water spots.
- Clear glass enclosures – keep the space feeling open.
Pair these with a low‑profile, wall‑mounted faucet to free up floor space and make cleaning a breeze.
The Installation Process: Demolition, Plumbing Reroute, Waterproofing, and Tile Installation Steps
Step 1 – Demolition
First, clear the bathroom. Remove the tub, vanity, and any trim that blocks access. A contractor will wear a dust‑mask, use a reciprocating saw, and keep the floor protected with drop cloths.
Step 2 – Plumbing Reroute
Next, the plumber re‑positions the drain and supply lines. In Chandler homes built before 2000, the waste pipe often runs through the wall, so a short chase may be needed. Expect a few extra elbows; they add a few dollars but prevent future leaks.
Step 3 – Waterproofing & Tile
Now comes the critical part: a liquid‑applied membrane that seals every corner. Apply it in two coats, let it cure, then lay the backer board. When the tile goes down, use a ¼‑inch spacer for even grout lines, and press each piece firmly into the thin‑set.
- Permit check: Verify local requirements before you start.
- Drain slope: Aim for a ¼‑inch drop per foot to keep water moving.
- Seal all tile edges with silicone to keep moisture out.
Case Study: Transforming a 1990s Tub into a Luxury Walk‑In Shower in a Chandler Home
Before the Conversion
When the Martinez family bought their 1998 ranch, the bathroom still featured a dated claw‑foot tub that ate up half the floor. Water bills were high and the space felt cramped for two kids getting ready each morning.
We started with a laser‑precise measurement of the existing footprint, noting the location of the old drain and the nearest supply lines. The walls were solid plaster—no hidden studs to worry about, which saved a few hours of demolition.
The Design Decision
Our goal: a walk‑in shower that feels like a spa but fits within the same square footage. We chose a frameless glass enclosure with a low‑profile threshold, letting the floor stay level with the rest of the bathroom.
Materials were selected for Chandler’s hot, dry climate:
- Porcelain large‑format tiles for minimal grout lines and easy cleaning.
- Waterproofing membrane rated for 10,000 psi—future‑proof against any leaks.
- A rain‑head fixture paired with a handheld wand for flexibility.
- Brushed nickel hardware that resists fingerprints.
All fixtures were sourced locally, cutting shipping time and supporting the community.
Outcome & ROI
After a 10‑day install, the Martinez bathroom went from “meh” to “wow.” The new shower uses 30% less water per use, translating to noticeable savings on the monthly utility bill.
Within six months, the home’s appraisal reflected a $12,000 bump—thanks largely to the modern shower upgrade. The family now enjoys a dry, spacious floor and a daily rain‑shower experience without the old tub’s hassle.
Final Words
Ready to turn that bathtub into a showroom‑ready shower? The first move is simple: Tub to Shower Conversion specialists in Chandler can give you a free on‑site audit. That’s where the magic starts, and you’ll walk away with a clear game plan.
What to Do Next
- Grab a measuring tape and note the exact dimensions of your current tub.
- Sketch a quick layout showing where the new drain and showerhead will sit.
- Call at least two local contractors for written quotes—compare not just price, but warranty and timeline.
Remember, a well‑executed conversion does more than look good. It boosts resale value, cuts water bills, and gives you a daily spa experience without leaving home. Take action today and watch that outdated tub disappear under a sleek glass wall.
People Also Ask
What is the average cost to convert a tub to a shower in Chandler, AZ?
The conversion typically ranges from $4,000 to $9,000, depending on the size, materials, and complexity of plumbing changes. Hidden expenses such as waterproofing upgrades or structural modifications can add $500‑$1,500 to the total.Do I need a permit for a tub‑to‑shower conversion in Chandler?
Yes, Chandler requires a building permit for any plumbing or structural alterations. Obtaining the permit ensures the work meets local codes and protects your home’s resale value.How long does a tub‑to‑shower remodel usually take?
A standard conversion takes about 1‑2 weeks from demolition to final tile grouting. Larger projects with custom designs or extensive plumbing reroutes may extend to 3‑4 weeks.What shower designs are best for accessibility in a Chandler home?
Walk‑in showers with low or curbless thresholds and grab bars provide easy access for all users. Linear drains and slip‑resistant tile further enhance safety and comfort.Can I keep my existing bathtub plumbing when converting to a shower?
In many cases, the existing drain and water supply can be reused, reducing labor costs. However, if the layout changes significantly, new plumbing lines may be required to meet code and ensure proper drainage.
Chandler Bathroom Remodel specializes in high‑quality bathroom renovations tailored to the unique style of Chandler homeowners. With over a decade of experience, the team combines skilled craftsmanship with a deep understanding of local design trends and building codes. Serving the Chandler community, they deliver personalized service from concept through completion.
Need Bathroom Remodel?
Rapid, reliable service that gets your home back on track in Chandler, AZ (85224, 85225, 85226, 85248, 85286) and neighboring communities.
Get Remodel Estimate